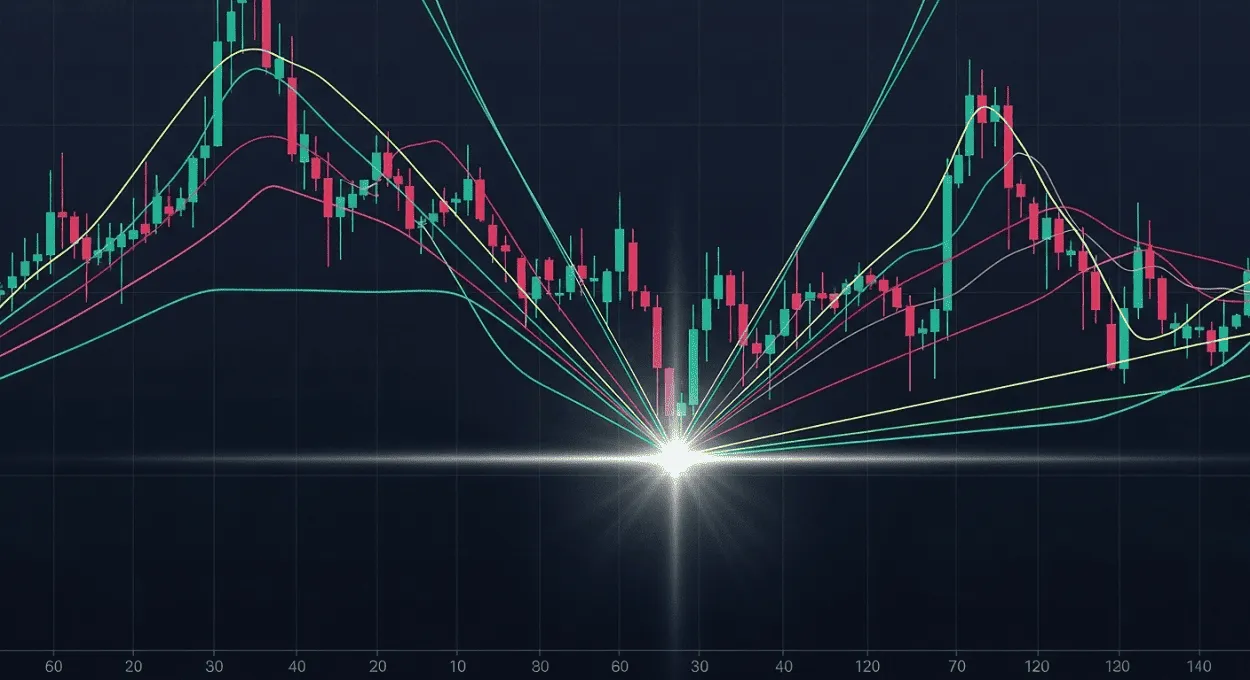
If you’re new to trading, your first instinct is likely to find the “best” technical indicator. You add a Moving Average, then an RSI, then a MACD, and soon your chart is a chaotic mess of colorful lines — a phenomenon many traders call “indicator soup.”
You end up with conflicting signals: one says buy, another says sell, and you’re frozen with indecision.
I’ve been there. For years, I searched for a single, magical tool that would give me perfect entry and exit signals. Here’s the professional secret I learned: no such indicator exists.
The power of technical indicators isn’t found in isolation; it’s found in combination.
The goal is not to find an indicator that predicts the future, but to build a system where multiple, non-redundant indicators confirm the same story. This layering of evidence is what creates high-probability trade setups.
This guide will teach you the expert’s method: how to stop chasing signals and start building a logical, multi-layered “Confirmation Stack” for your trades.
The Core Philosophy: Confirmation, Not Prediction
First, we must shift our mindset. Technical indicators do not predict the future. Instead, they are lenses that help us interpret different aspects of the current market environment:
- Trend Indicators tell you the dominant direction of the market (the “what”).
- Momentum Indicators tell you the speed and strength of price movement (the “how strong”).
- Volatility Indicators tell you the potential range of price movement (the “how much”).
A high-probability trade occurs when you get a green light from multiple, different categories at the same time. This is called confluence.
Building Your “Confirmation Stack”: A 3-Layer Method
To avoid “indicator soup,” we need a clean, logical framework. I personally use a 3-layer method that combines one indicator from each of the major categories. This ensures each tool has a unique job and isn’t just repeating the same information.
Layer 1: The Context (Trend Filter) – Moving Averages (EMA)
The first question you must always answer is: “What is the overall trend?” Trading with the trend is the easiest way to put the odds in your favor.
- Tool: 50-period Exponential Moving Average (EMA) and 200-period EMA.
- Job: To define our directional bias.
- If the price is above both the 50 and 200 EMA, and the 50 is above the 200, our primary bias is bullish. We only look for buy signals.
- If the price is below both the 50 and 200 EMA, and the 50 is below the 200, our primary bias is bearish. We only look for sell signals.
- If the price is caught between the EMAs or they are intertwined, the market is likely ranging. We either stay out or switch to a range-bound strategy.
Layer 2: The Opportunity (Momentum Filter) – Relative Strength Index (RSI)
Once we have our trend direction, we need to know when to enter. We don’t want to buy at the very top of a rally. Instead, we want to buy on a pullback (a “dip”). The RSI helps us identify when a pullback might be losing steam.
- Tool: Relative Strength Index (RSI) with a 14-period setting.
- Job: To identify potential overbought or oversold conditions within the context of the trend.
- In a strong uptrend, we watch for the RSI to dip to the 40-50 level. This often acts as a “support” zone for momentum and signals a potential buying opportunity.
- In a strong downtrend, we watch for the RSI to rally to the 50-60 level. This often acts as a “resistance” zone for momentum and signals a potential selling opportunity.
- Notice we are not waiting for the traditional 30/70 levels. Using 40/60 in a trending market is a more professional approach.
Layer 3: The Entry Trigger (Volatility & Confirmation) – Bollinger Bands®
We have our trend and a potential entry zone. Now we need a specific trigger. Bollinger Bands are excellent for this because they measure volatility and show us when a price has moved “too far, too fast” and is likely to revert to its mean.
- Tool: Bollinger Bands® (20-period, 2 standard deviations).
- Job: To provide a precise entry trigger based on volatility.
- In our uptrend scenario, when the price pulls back and touches the lower Bollinger Band at the same time the RSI is near its 40-50 support zone, we have a powerful confluence. The final trigger is a bullish candle that closes back inside the bands.
- In our downtrend scenario, when the price rallies to the upper Bollinger Band at the same time the RSI is near its 50-60 resistance, we have a strong sell setup. The trigger is a bearish candle that closes back inside.
Putting the Method into Practice: A Step-by-Step Bullish Trade
Let’s walk through a real-world example:
- Step 1: Context Check (EMAs). We look at our EUR/USD 4-hour chart. The price is trading above the 50 EMA, and the 50 EMA is above the 200 EMA. Verdict: Strong uptrend. Our bias is exclusively bullish.
- Step 2: Opportunity Zone (RSI). The price begins to pull back towards the 50 EMA. We switch our focus to the RSI indicator. As the price dips, we watch the RSI fall from overbought levels (above 70) down towards the 50 level. Verdict: We are now entering a potential buy zone.
- Step 3: The Trigger (Bollinger Bands). The price continues its pullback and touches the lower Bollinger Band. The RSI is at 48. We now have our confluence of signals. We wait patiently for the next 4-hour candle to close. It closes as a strong bullish candle back inside the lower band. Verdict: This is our entry signal. We enter a long position, placing our stop-loss below the low of the signal candle.
Important Rules for Combining Indicators
- Avoid Redundancy: Never combine two indicators from the same category that do the same job. For example, using the RSI and the Stochastic Oscillator together is redundant; they both measure momentum. This just adds noise, not confirmation.
- Keep It Simple (KISS): The 3-layer stack is a complete system. Resista a tentação de adicionar um quarto ou quinto indicador. More is not better; it’s just more confusing.
- Price Action is King: Indicators are secondary. They should always be used to confirm what the price action is telling you (e.g., a bounce from a key support level). If the indicators say one thing but the price action says another, trust the price.
Conclusion: From Indicator Soup to a Cohesive Strategy
The journey to profitable trading isn’t about finding a secret indicator; it’s about building a logical, robust process.
By combining a trend, momentum, and volatility indicator, you create a “Confirmation Stack” that filters out low-quality setups and highlights high-probability opportunities.
Stop hunting for signals. Start building a system. This methodical approach will bring clarity to your charts and discipline to your trading.
Disclaimer: Our commitment is to provide transparent information to help you make informed decisions. However, this article is an educational guide and not investment advice. All trading involves risk, and it is crucial that you conduct your own research before investing. To support our work, we may receive commissions from some of the services reviewed.